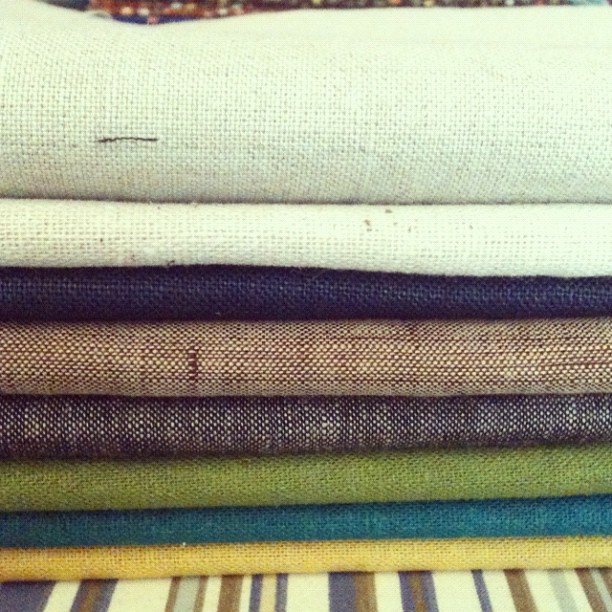
 Used under the Creative Commons license through Flickr. Photography by Meaghan O'Malley (This post is the fourth in a series about choosing and using a woven wrap. See Part 1 here, Part 2 here, and Part 3 here). Today's post is for the crafty folks - how to make a DIY (do it yourself) woven wrap. While some people prefer to buy a wrap specially made for carrying babies, others choose to make their own wrap. Hopefully this guide will help. The basic things to know are: type of fabric, dimensions, and "how to." Recommended types of fabric
Fabric types to avoid
Dimensions There is a lot of information about wrap sizes (that's another whole post!) but for now, we'll cover some basics. Wrap sizing can be confusing, but in general, most new wrappers start with a long wrap that will allow them to do Front Wrap Cross Carry. This size is also known as "base size." This list may help you decide which size is for you:
Remember, you can always cut a wrap shorter, if you find it is too long for you - so err on the side of too long! Also this fabric will shrink about 20% when you wash it so be sure to account for that when you buy, and add enough extra so that you'll have the length you want in you final product. Osnaburg fabric is usually 60" off the bolt. A wrap width of about 28" works well for most people, so you will have enough for two wraps! Step by step directions 1. Buy your fabric (see above). 2. Wash and dry it twice (wash on hot). 3. Scour the fabric if using osnaburg or another undyed fabric (see instructions here: http://www.rootsimple.com/2012/05/how-to-prep-fabric-for-dyeing-scouring/ 4. Cut your fabric in half. Measure at the midway point (if your fabric is 60" wide). Cut an inch snip and then rip down the middle. This should be more accurate than cutting with scissors. 5. Cut the tapers. This is not absolutely necessary, but most woven wraps have tapered edges to make tying knots less cumbersome. A 45 degree angle should work fine. Your finished wrap should look like a parallelogram, not a trapezoid. 6. Hem your fabric. If you iron and inch fold all around, then hemming should be easier. You need to do a rolled hem. Cotton thread works fine. Sew very close to the fold! This tutorial is helpful, especially for the corners: http://www.sleepingbaby.net/jan/Baby/rehem.html 7. You're almost done! 8. Last step! Make a middle marker to denote the center of the wrap. You can use anything for this: Fabric pen, ribbon, thread in a contrasting color. Most people like to have a middle marker on both edges (top and bottom). You're done! Go wrap your baby! 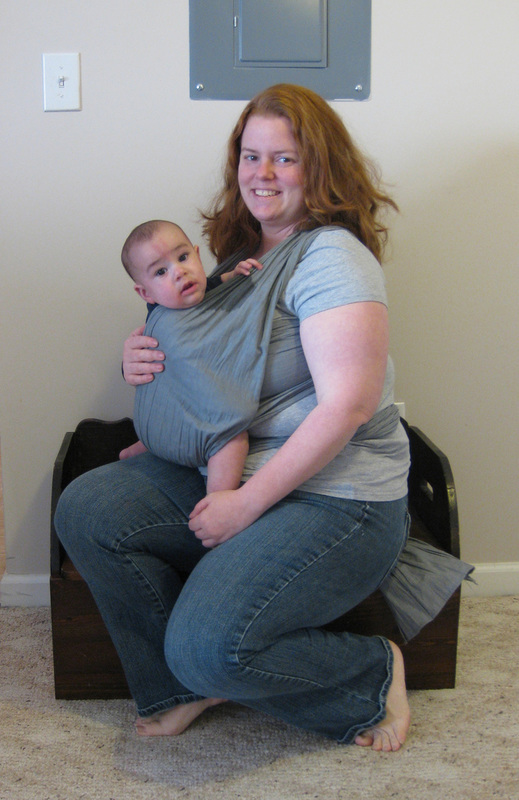 Used under the Creative Commons license through Flickr. Photography by Devon
1 Comment
3/20/2017 11:19:59 pm
There are different types of clothes that are offered in the market. Each type has its own use and has its own effects that may affect our bodies. We must choose wisely and we must consider the different factors of the clothes. This post gives us the needed information about the different kinds of cloth. I will save this page and I will read it often so that I will be guided whenever I will buy a cloth. Leave a Reply. |
AuthorBeth. The babywearing lady. Archives
May 2017
Categories
All
all content
copyright 2016 Beth Secrist All photos used under the Creative Commons license through Flickr. Photography by: littletuesday12 |
 RSS Feed