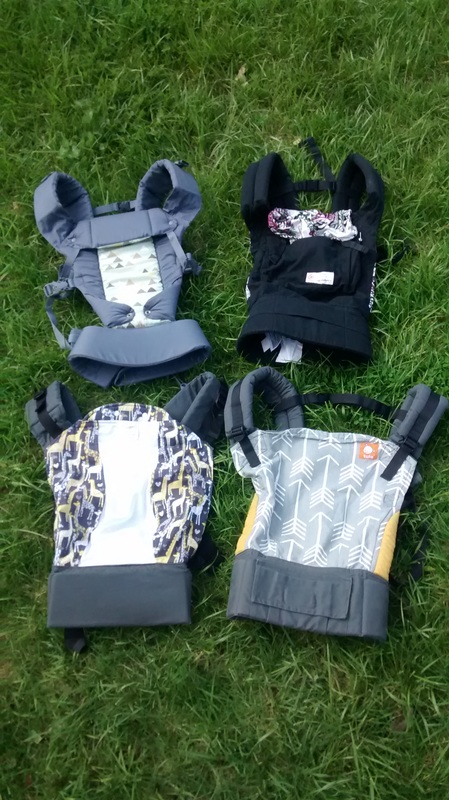
 Four popular buckle carriers (Beco Gemini, Ergobaby original, Kinderpack, and Tula) that all fit VERY differently.  Photo and text by Heather Williams and Rebecca Ticknor from BWI of Greater Houston Photo and text by Heather Williams and Rebecca Ticknor from BWI of Greater Houston "What buckle carrier do you recommend? My friend told me I should get a Tula. She loves hers!" This question has been asked many times! When someone finds a carrier they love, they cannot wait to tell everyone about how awesome it is. Comfortable babywearing is life-changing for a family! So, if your friend has found that her Tula has made such an amazing impact on her life, it makes sense that she would recommend it to you as the BEST carrier. However - no matter much your friend loves her carrier, and no matter how wonderful it might be for her, it may not be the right carrier for you! Every carrier fits differently, and every body (and baby) is different. Would you buy a new cut of jeans without making sure they fit just the way you wanted? Probably not. You try them on, check yourself from every angle, sit down, bend over, and make sure they are the perfect fit. Buckle, or soft-structured carriers are very much like jeans. They might fit your hips, but the shoulder straps might rub under your arm. The panel might be the right height, but the seat might not be deep enough for your (or your baby's) preference. The construction of a buckle carrier means it is adjustable only to a point. There are some things that just cannot be changed, and those are the things that may impact your comfort. Ingredients of a Buckle Carrier There are a few different types of features that contribute to the fit and function of a buckle carrier, and why you may (or may not) like it.
Go to the Fitting Room! When you have a stack of jeans to try, you take them to the fitting room, try them on, and compare. Similarly, the best way to figure out what works for you is to try on a variety of carriers. Most people can tell fairly quickly (as long as the carrier is being used correctly) whether or not a carrier feels good and fits well. Little tweaks in position of carrier and straps do make a big difference, so it helps to have a person knowledgeable about carriers help you. The quickest way to do this is to attend a babywearing group meeting, or to schedule a consultation with a babywearing educator. At a group meeting or a private consultation, you may have access to a wide variety of carriers to try on, and can get assistance with the tweaks and tips that may help you find the right carrier for your body. Just like jeans, when you have found the carrier that fits, you KNOW. And you can buy with confidence, knowing it is the right choice for you and your body! 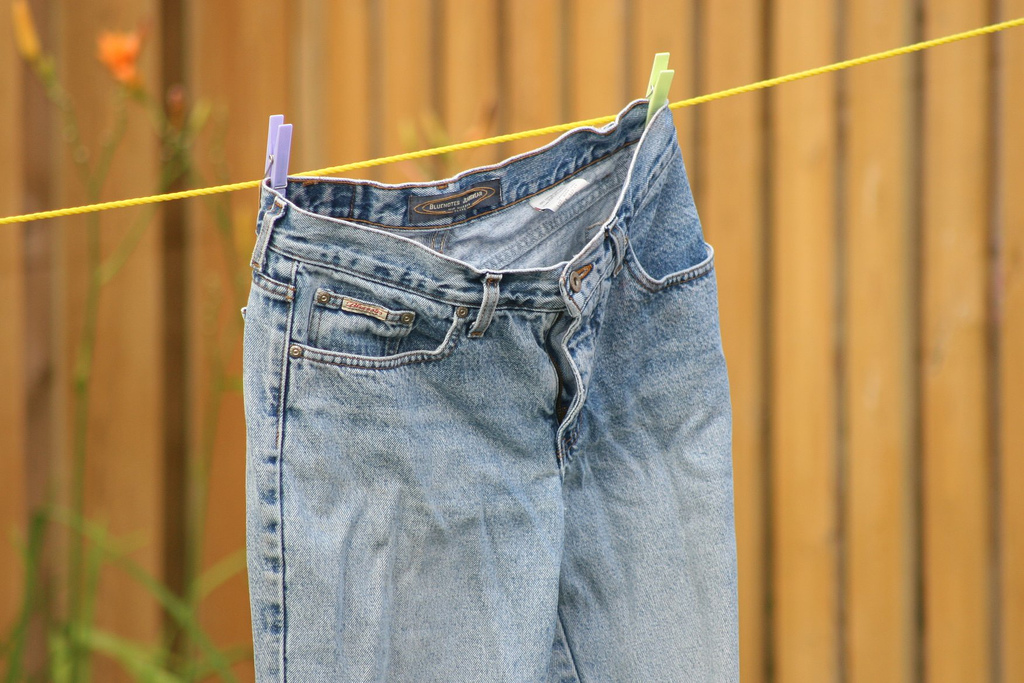 Used under the Creative Commons license through Flickr. Photography by Jeff M for Short
2 Comments
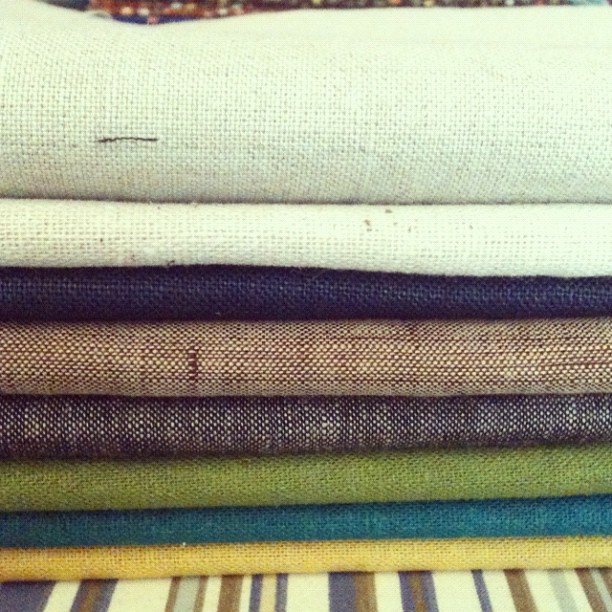 Used under the Creative Commons license through Flickr. Photography by Meaghan O'Malley (This post is the fourth in a series about choosing and using a woven wrap. See Part 1 here, Part 2 here, and Part 3 here). Today's post is for the crafty folks - how to make a DIY (do it yourself) woven wrap. While some people prefer to buy a wrap specially made for carrying babies, others choose to make their own wrap. Hopefully this guide will help. The basic things to know are: type of fabric, dimensions, and "how to." Recommended types of fabric
Fabric types to avoid
Dimensions There is a lot of information about wrap sizes (that's another whole post!) but for now, we'll cover some basics. Wrap sizing can be confusing, but in general, most new wrappers start with a long wrap that will allow them to do Front Wrap Cross Carry. This size is also known as "base size." This list may help you decide which size is for you:
Remember, you can always cut a wrap shorter, if you find it is too long for you - so err on the side of too long! Also this fabric will shrink about 20% when you wash it so be sure to account for that when you buy, and add enough extra so that you'll have the length you want in you final product. Osnaburg fabric is usually 60" off the bolt. A wrap width of about 28" works well for most people, so you will have enough for two wraps! Step by step directions 1. Buy your fabric (see above). 2. Wash and dry it twice (wash on hot). 3. Scour the fabric if using osnaburg or another undyed fabric (see instructions here: http://www.rootsimple.com/2012/05/how-to-prep-fabric-for-dyeing-scouring/ 4. Cut your fabric in half. Measure at the midway point (if your fabric is 60" wide). Cut an inch snip and then rip down the middle. This should be more accurate than cutting with scissors. 5. Cut the tapers. This is not absolutely necessary, but most woven wraps have tapered edges to make tying knots less cumbersome. A 45 degree angle should work fine. Your finished wrap should look like a parallelogram, not a trapezoid. 6. Hem your fabric. If you iron and inch fold all around, then hemming should be easier. You need to do a rolled hem. Cotton thread works fine. Sew very close to the fold! This tutorial is helpful, especially for the corners: http://www.sleepingbaby.net/jan/Baby/rehem.html 7. You're almost done! 8. Last step! Make a middle marker to denote the center of the wrap. You can use anything for this: Fabric pen, ribbon, thread in a contrasting color. Most people like to have a middle marker on both edges (top and bottom). You're done! Go wrap your baby! 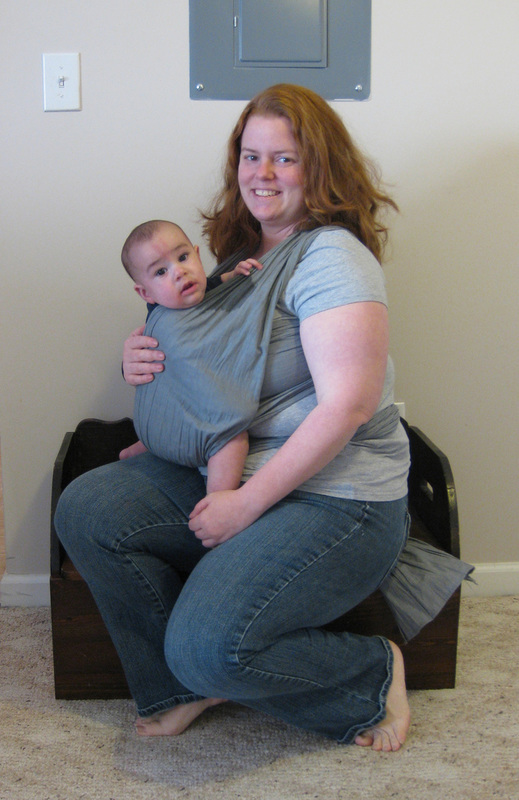 Used under the Creative Commons license through Flickr. Photography by Devon  Used under the Creative Commons license through Flickr. Photography by Paul Inkles (This post is the third in a series about choosing and using a woven wrap. See Part 1 here and Part 2 here).
Today's post contains "everything you need to know" to make a secondhand wrap purchase. Some benefits of buying secondhand
Some risks of buying secondhand
Where to buy secondhand If you have an active local babywearing community, you may be able to find a wrap you like for sale within your community. Many local babywearing groups allow buying/selling/trading of carriers in their Facebook groups. You might also be able to find a secondhand wrap at a consignment sale or even listed on your local Craigslist. If you cannot find one locally, there are many online options for buying secondhand.
Basic buy/sell/trade group guidelines and etiquette:
Buying a new wrap is great and buying secondhand can also be lots of fun! However, if you are more of a do it yourself type, stay tuned for the next post, about making a DIY wrap.  Used under the Creative Commons license through Flickr. Photography by CityofStPete (This post is the second in a series about choosing and using a woven wrap. See Part 1 here).
Once you’ve determined that you want to use a woven wrap and you start to learn about the different brands available that might be good options for you, you will need to know where and how to get one. The options for buying a wrap come down to: new, secondhand, and DIY. Today, we’ll talk about buying a new wrap. There are some advantages to buying a new wrap. One is that you know it will be in new condition - no stains, tears, pet hair, fragrances, or any other surprises. Another important benefit (to both you and the economy) is that by buying you are supporting the small business that sells these wraps. While you can find a few brands of wraps on major online retailers like Amazon, most new wraps are available from online or brick and mortar specialty stores. Small businesses like these are an important part of the babywearing world. Often, these small business owners are quite educated about the wraps they sell, and will be happy to answer your questions about their products. The customer service is excellent! Here is a small sampling of the growing number of stores that offer several brands of wraps (and other carriers, too) and are known for excellent customer care:
Many of these stores run regular sales and/or have a discount for signing up for their newsletter. If you are not in a rush, consider following their Facebook pages and waiting for a sale. It is important to note, however, that if you wait for a sale, you may find that the wrap you decided you want (and the size you need) is out of stock at that vendor. So, you may need to be flexible about which wrap you want if you are a bargain hunter! You can also buy many of the wraps discussed in part 1 of this series direct from the manufacturer Stay tuned for the next post, about where and how to buy secondhand! 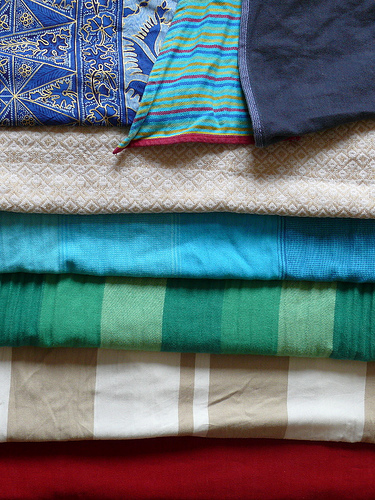 Used under the Creative Commons license through Flickr. Photography by ithilhin (This blog post is the first in a series about choosing and using a woven wrap.) So you want to buy a wrap. You have decided you love the versatility and comfort of wrapping, and you want to dive right in. But if you Google “woven wrap” you are overwhelmed with the number of options and do not know where to start. So many photos of sweet babies and curious toddlers, and wrap designs ranging from rainbows, to hearts, to Harry Potter, to flowers, to soccer balls and so much more. How can you choose? Many people (though certainly not all) appreciate starting with a wrap with non-repeating stripes, a change in color from one rail of the wrap to the other, or some other feature that allows one rail to be easily distinguished from the other. This can help people who are new to wrapping keep track of the how the wrap is moving around them while wrapping, and also can assist in guiding proper tightening throughout the wrap. As for a fabric, many people choose (and love) 100% cotton for their first (or only) wrap. There are other fibers and blends available, each with their benefits and drawbacks, but in general, cotton is a wonderful beginner fiber. Here are some brands that are known for their striped wraps or different rails. If you have a favorite wrap company that fits this description and isn’t listed here, please share it!
There are stripes in many different colors and widths, from the brightest rainbow, to the most subtle greys. You are sure to find something you like (hopefully it isn’t discontinued, or out of stock, or in transit - more on this next time). Another great option is to buy a solid color wrap, or make a DIY wrap some Osnaburg or other woven fabric, and then dye along one or both rails so you can keep track of them. Stay tuned for the next post, all about where and how to buy! 4/22/16 Adding links for the other segments in this series. Part 2 - where to buy a new woven wrap Part 3- where and how to buy a secondhand woven wrap Part 4 - how to make a DIY woven wrap  Used under the Creative Commons license through Flickr. Photography by Marjolein van Elteren |
AuthorBeth. The babywearing lady. Archives
May 2017
Categories
All
all content
copyright 2016 Beth Secrist All photos used under the Creative Commons license through Flickr. Photography by: littletuesday12 |
 RSS Feed